A lining for the #lünebag (with tutorial)Posted by Jennifer on December 29th, 2020 In three weeks there will be sewing again in Lüneburg. Silke von der Tillabox and Dani von Prülla organize the sewing meeting # lüneburgnäht again . In the run-up to the event, the two thought that perhaps each participant could sew a bag that would then be raffled off. A great idea that even comes with a free book for a #lünebag .
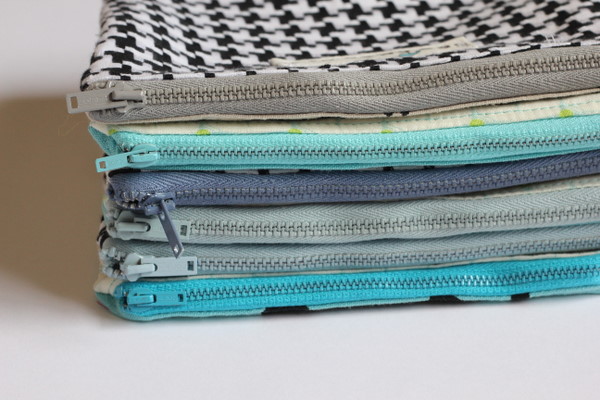
The pattern can be downloaded from Prülla . There is also a sewing video on youtube . However, the original # lünebag is not lined, at most the inner seams are finished with bias tape. Personally, I don't like that very much. So I fed my first # lünebag. And because I didn't want to think of how to get the lining on the zipper with the machine, I sewed it onto the inside of the zipper by hand. Was pretty quick and looked okay. Likewise with my second # lünebag. (Did I say the cut is addictive?) Then I got the tip on Instagram to sew the lining in the same way as Lee from mine has shown her on her backpack . Hmmm, so I took a closer look at Lee's instructions, slept over it for a night and then tackled #lünebag No. 3. It worked: you can sew on the lining with the machine and then turn the whole bag over through a reversible opening. However, I used a lot of brainpower for this process and to be on the safe side I took a photo every now and then so that I still know how to do it tomorrow (because # lünebag No. 4 has already been cut). If you want to do it, I've written down the individual steps here. A few notes in advance: The curves are a bit tricky to sew. It helps me if the rounded side is on top when sewing. Then I can stretch the corners a little and sew in fewer folds. Of course, you can do it differently and put the curves downwards. Just try out what you like best. Very important: When sewing corners, always leave the needle down, then lift your feet and place the fabric accordingly in the curve. A short stitch length helps a lot. But now it's time to go to the sewing machine. This is how my #3 lünebag came about. The outer fabric is a canvas from furniture Sweden, well seasoned. I bought the inner fabric years ago in Provence. Because the cotton fabric is quite thin, I reinforced it with Vlieseline H640, but left a centimeter at the edge so that the round corners are easier to sew. The zipper is a remnant of an endless zipper. The little loops are made from leftover woven tape from my box. I cut the side parts (slightly different from the pattern) exactly to the width of the zipper. 1. Cut out all parts, mark the beginning and end of the zip on all parts. Also mark the middle of the front and back sections at the top and bottom. 2. Starting from the middle, sew the zipper onto the front part (outer fabric) until just before the marking.
3. Transfer the markings to the zipper and then sew the woven ribbon loop and side pieces onto the zipper accordingly. Fold both over and continue sewing on the zipper up to the side part. 4. Sew the side parts onto the front part. At the point where the side parts meet at the bottom in the middle, first sew the parts together, then close the seam to the front part 5. Now it comes to the lining: Fold one side part at the top inwards, place the front part (lining) right sides together at the marking for the zipper on the side part (lining) and sew approx. 8 cm downwards. Repeat on the other side. 6. The lining (front part) is now sewn onto the zipper. To do this, place the envelope from the side part exactly where the zipper and the side part of the outer fabric meet. Sew the lining onto the zipper directly from the envelope (do not pierce the existing lining seam). Sew on zipper all around, from envelope to envelope. 7. Now the back part (outer fabric) comes on. Sew the woven tape and the side parts onto the zipper according to the height of the front part. Then sew the zipper on the back and immediately continue the side parts to the back. Open the zipper a little! The outer shell is now closed. 8. Sew the lining from the back part approx. 8 cm down to the folded lining side part from the marking. (Right where the brackets are.) 9. Now it's getting fiddly. Sew the lining to the zipper, again from envelope to envelope of the side panels. 10. As a precaution, turn the bag over and see whether the zipper curves have turned out nice. If you like them, you could cut the seam a little on the curves, then the corners lay even better. 11. So now comes the easy part. Sew the lining pieces further to the side pieces. Close the seam in the middle again at the bottom. You leave a turning opening on one side part (below me). 12. Turn the bag over, shape the corners nicely and close the opening. Done!!!
Have fun with your lined # lünebag. Jennifer Like it? Share it! More by this author |