While choosing a new best bathroom faucet, ensure it's good with your wash bowl, by verifying the number of mounting gaps.
Turn off the water supply utilizing the valves under the vanity. If you don't have shutoff valves, stop the water principle. It is prescribed to install shutoff valves on your pipes so you can turn off the water straightforwardly from underneath the sink.
Wear security glasses when working under a sink.
Drain the channels and gather the water by opening the p-trap under the sink.
Get ready for installation
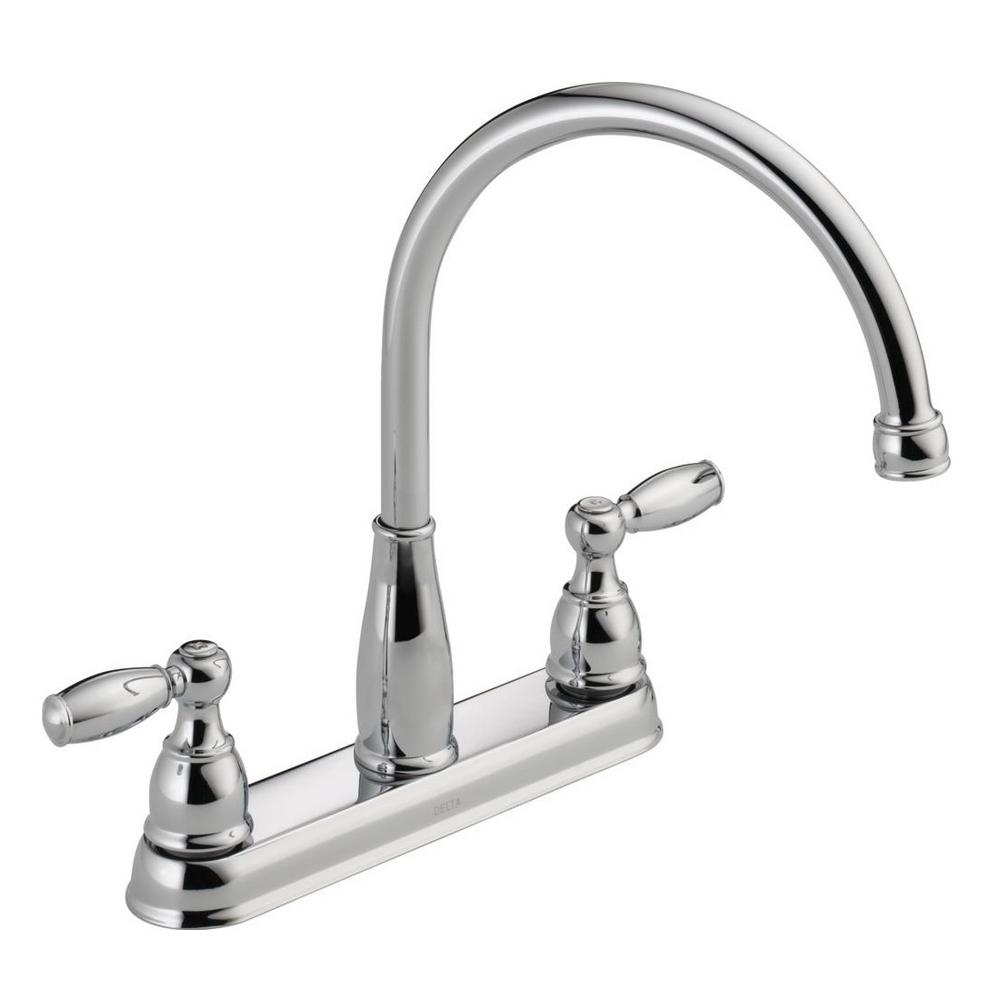
Remove the old faucet and rub sealant around the mounting gaps with a putty knife.
Clean and dry the surface.
Replace the mechanical fitting if required.
While you're working under the sink, utilize the chance to replace old inflexible supply tubes with sturdy adaptable hardened steel twisted ones.
Install the faucet
If your faucet has a base, run a ¼ in the dab of bathroom and kitchen sealant silicone under the base.
Insert the faucet rear ends in the gaps, and press down immovably so the sealant clings well to the base and makes a watertight seal.
Make beyond any doubt that the base of the faucet is parallel to the back of the sink. If your faucet is single-taken care of, mounting openings might be noticeable. If it's the situation, disguise them with opening spreads.
Install locknuts and nuts
Under the sink, install the locknuts and nuts to the faucet rear ends.
Apply Teflon tape to the strung closures of the rear ends to guarantee associations are watertight.
Remove overabundance sealant around the base of the faucet.
Interface the tubes
Connect the tubes to faucet rear ends, then interface the flip side of the tubes to the shutoffs.
Install the mechanical fitting
Install the mechanical fitting and ensure it's in the "open" position.