Secret Painting Tool Tips That Work Every Time
Posted by Richard Dixon on January 3rd, 2019
I have an inquiry for you, exactly what amount of time have you spent at the home store attempting to make sense of which, (if any) of the "convenient dandy" paint embellishments really will spare you time and cash? I'll wager you've even attempted a few them and been debilitated.
You are not alone......
This is number 2 out of a progression of 3 articles that I'll clarify sincerely what has worked for me throughout the years and why it certainly justified regardless of the little measure of additional time and cash to have the completed item you need and merit.
We should discuss paint rollers and how to make them your companion and work for you, not against you!
Roller Covers:
Here's another zone where your decisions are characteristic or engineered.
As a rule, the synthetics are for water-based and the characteristic for oil based. The snooze of the roller cover will change from short for smooth surfaces and completes, to long and thick for unpleasant surfaces. Think smooth mortar and bond square or harsh stucco.
The best roller covers are sheep's fleece and mohair, and they are costly. But if you deal with them, ensure they are washed out totally and "lightened" to dry, they will keep going quite a while. I use the special fleece roller cover with water-based paints with excellent outcomes, and wouldn't change to a manufactured cover.
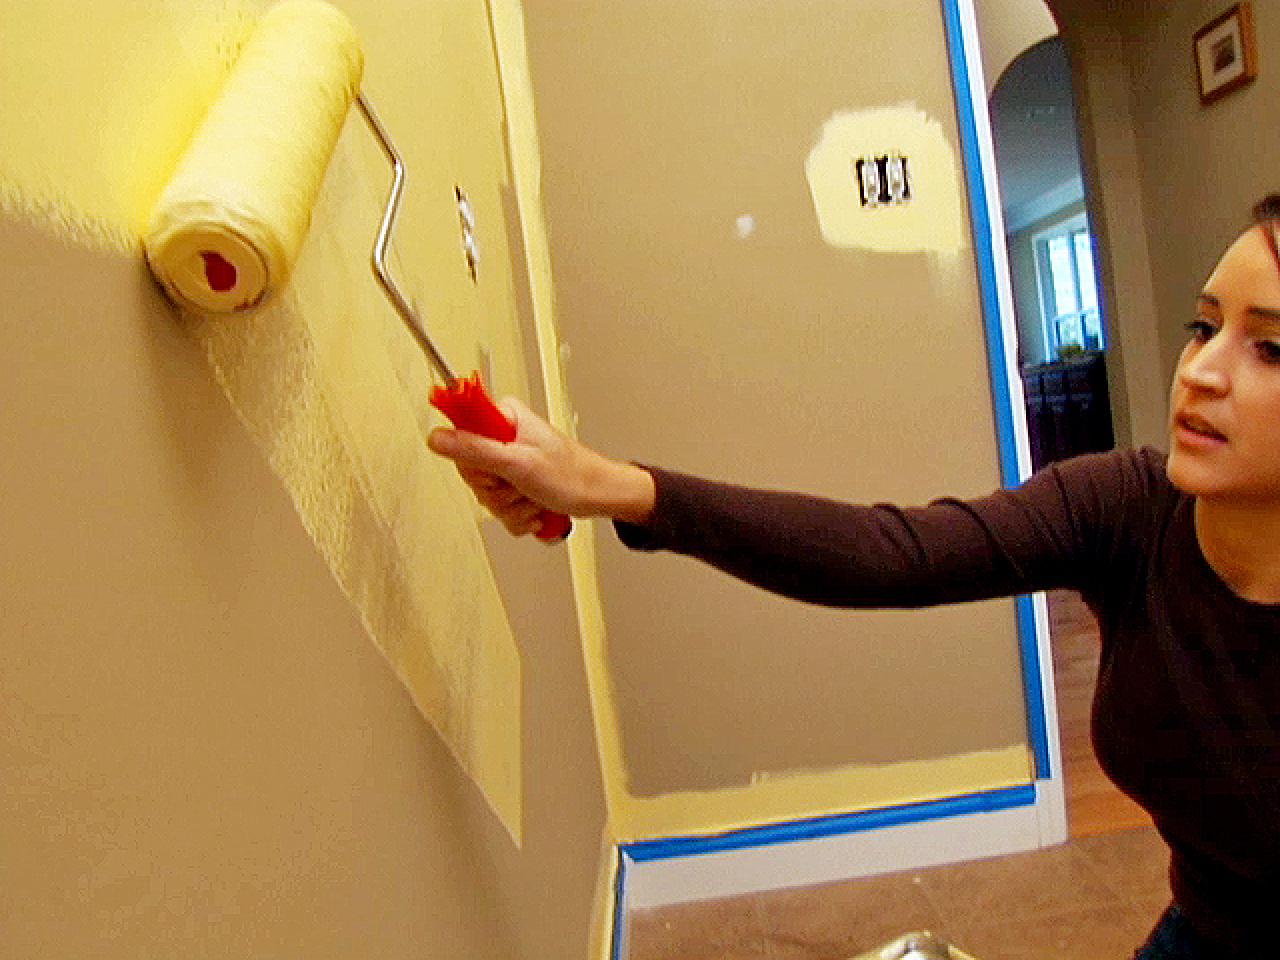
Step by step instructions to Load a Roller:
Odds are you will use a painted plate rather than a major 5-gallon pail, with the goal that's what we'll be tending to here.
An advantageous choice is to buy a metal paint plate and a bundle of dispensable paint plate liners. That way, when you are done with shading, you just put that plate aside and proceed onward to the following. At the point when the paint on the liner is dry, it tends to be tossed in the junk.
Here's a Real Tip: Before you contact the paint with the roller, gently wet the roller with water. This will help the paint equally "stick" to the roller for better coverage, and best of all the roller cover will be WAY simpler to clean!
Fill the roller plate most of the way with paint, set the roller into the center of the well, lift out and move down the incline a few times to work in and level out the paint. Dunk the roller into the well once again and rehash on the slope. Roller ought to be soaked but not dribbling.
Move On:
Apply paint in 2 to 3-foot squares. You are fundamentally going to go over the zone multiple times with one heap of paint. Paint a crisscross (M or W) design using medium weight, without lifting the roller from the wall, at that point fill in the bright zones, smoothing as you go. Presently return and forward over similar territory, again medium weight. At long last go all over once again.
Reload the roller and move to the next square. Make sure to cover the former area somewhat. Continuously work into wet zones. This will forestall creases. Work out from the main square until the point when the entire wall is done.
At the point when it's an excellent opportunity to clean the roller, convey the entire thing to a clothing sink, work out however much paint under running water as could reasonably be expected at that point pull the cover from the handle. At that point, still under running water work whatever remains of the paint out of the roller cover. When you can crush the cover and get water runs out you're finished. Shake off the buildup and cushion the roller cover.
If you are in a position where you can't get the chance to water or time is an issue, firmly cover the roller in a plastic pack till you can get it cleaned.
I realize this may sound brash, but sincerely following these means will give you a completed paint venture you'll be pleased to flaunt. Your companions may even ask you who took every necessary step!