Perfume is one of the most retailed products across the world. It is a luxury product that is also used for gifting purposes on various occasions. Customized Perfume Boxes that are designed beautifully complement these perfectly when gifted to a loved one. When you need only a small number of gift Perfume Boxes, a DIY project suits best as it also shows your level of care. Whether you need these gift boxes for a yearly event or any other social occasion, creative designs are possible for all requirements.
If you have a basic level of crafting skills and a creative approach, a personalized perfume box can be designed easily. Keeping in mind the usual shape of a perfume container or even its first layer of packaging, designing a gift box is pretty simple. Any specific event or occasion including a birthday, wedding, Easter, Christmas etc. can also get modified packaging. When you would rather use a personalized gift box instead of Wholesale Perfume Boxes Packaging, here is an easy DIY that will help:
What You Need:
We have a basic and easy Perfume Gift Boxes Wholesale idea. This is a DIY project that can be done by anyone with basic crafting skills. Our guide will help you design an outer gift packaging for a perfume that may or may not is packaged in its retail packaging. Here’s what you will need:
A large piece of cardboard or corrugated stock material
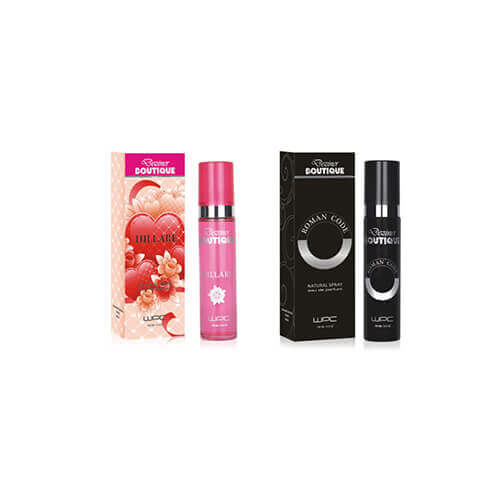
Your perfume container with or without its retail packaging
A marking pen to draw cutting and folding lines
Ruler scale to help draw all the lines with precision
A bone folder and craft knife for cutting and folding sides
Glue or adhesives to join the sides together for the box
Wrapping paper with all other optional embellishments including ribbons, stickers and/or handmade beautiful attachments
How the Box Is Made:
This guide will help you make 1 custom perfume gift box. You can repeat it as many times as needed and even get a larger cardboard piece marking multiple boxes on it. Here’s what you need to do:
Start by laying down the cardboard piece on a flat surface and have all the other materials and equipment close as well
Now, you will need that perfume you need to package inside its retail packaging or without it
Lay down the perfume on the cardboard piece on its center. Or side if the piece is too big and you need to make more than one boxes from it
Draw the first level of folding lines using your marker in a dotted style. This line will form one of the sides of your box and needs to be as close to the perfume’s sides as possible
Now, with the ruler scale, measure the exact depth or thickness of your perfume container or its retail packaging. This needs to be very precise as well as the box needs to fit snugly
For the measured thickness, draw the second level of lines outside the first ones. These will also be folding lines, make sure to draw all your folding lines with a dotted style making them easy to identify
Next, you need to draw the farthermost lines that will be the cutting lines. These should be exactly the same measurement from the outer most folding lines as the first side that you drew. If your perfume container or retail packaging is flat on its dies, both sides should be exactly equal. If it is curved slightly, make the minor adjustments
You should have the first level of folding lines and another for the thickness of the box outside of it. One side of this second level of folding lines should be connected with the other side. By keeping the whole box made from one piece of cardstock material, you will ensure sturdiness and durability. The outer lines on 3 sides that are not connected will become cutting lines
Now that you have identified all the cutting lines, use the craft knife to cut off the excess material. You should get a piece of material that will form the whole box. Make sure to leave an inch of the folding sleeve for your lid, as it will be required to close the box. No pieces should be required to be glued or attached as the whole thing is a one-piece construction
Now, you will be folding on all the folding lines. Use the bone folder to form 90-degree folds on each folding line. Here, you should see the structure of your Perfume Boxes forming nicely
Check for consistency by bringing the two sides together. The whole box should form pretty nicely
Now, join the two sides together by applying your glue or adhesives along the edges. You should be able to run the adhesives all along the two sides, bottom end and also the sides of the lid. Press them in and put light force or weight on them for a bit letting the adhesives settle in perfectly
Your Perfume Gift Boxes Wholesale should get a full structure now and sliding the perfume in should be pretty straightforward
Now that your box is formed fully, you will need to customize it according to your gift event or occasion’s requirements. Any wrapping paper that you had should go on the box first. Make sure to apply adequate amount of glue along all surface of the box making the wrapping stick flat perfectly
Finishing off your Customized Perfume Boxes, you should now add all other embellishments including ribbons or handmade pieces. Any stickers that you have should go on top of the wrapping paper first making way for the other embellishments
Repeating the process as many times as needed, you should be able to design your Wholesale Perfume Boxes Packaging This is a very basic DIY technique that everyone should be able to complete easily. Check the quality by sliding in your perfume container or box. It should fit in snug without moving about much at all.
Like it? Share it!
About the Author
Travis Johnson Joined: February 28th, 2019 Articles Posted: 4