Wooden Flooring installation tipsPosted by Alcove Studio on November 6th, 2019 Let’s have a look over the installation process of wooden flooring: If you are installing a solid hardwood floor, let the wood acclimatize for the moisture level of your home by keeping it idle in your room for 3-4 days. As temperature affects wood, try to install the flooring when it is neither too hot nor too cold. You will need the following tools and supplies:
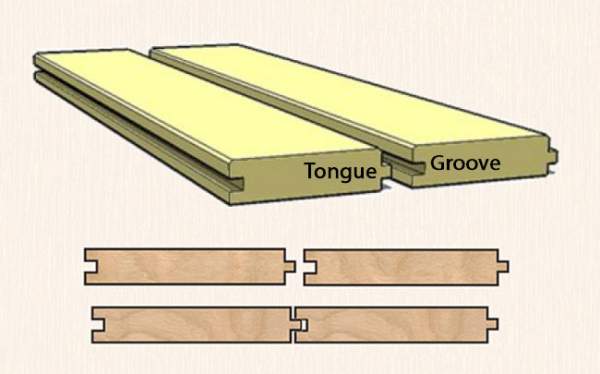
1) Verify and prepare the sub-floor: 2) Measure the room: To have end planks with the same width, divide the area of the room by width of one plank. If the remainder is less than 12 inches, divide it by two and this will be the width of both planks. Repeat the procedure, this time measuring the length of the room. 3) Lay down the first board, tongued-edge facing out into the room. The board should leave a small gap at the wall for expansion and be placed in line with the room. Place spacers in the gap. Guidelines can be placed by finding the center point of each wall and marking a line between them, creating a cross at the center of the room. Where one of these lines meets with the wall, mark the manufacturer’s recommended expansion distance and then draw a line at that point which is perpendicular to the centerline.
4) Nail the boards to the subfloor appropriate. Lock your boards together. When the first row is done, place the next board so that the tongue of the first fits into the groove. You will want to place the boards so that they are offset, beginning six inches or so from the ending of the previous board. Use a mallet and tapping a block to tap the boards together and create a tight seam. 5) Continue until you have completed three rows. You will nail the first three rows just as described in Step 2. 6) Since you are staggering boards, you will likely need to cut boards in order to fit in the gaps at the end. Measure the distance that it needs to be, keeping the expansion gap in mind, and then (with the board face-down) cut it using a saw.
7) Once you have enough space, you should begin using the flooring nailer (though you could technically do the entire floor with the hammer and nails). 8) You will eventually run out of room to use the flooring nailer. Hammer the last few rows the same way you did the first ones. 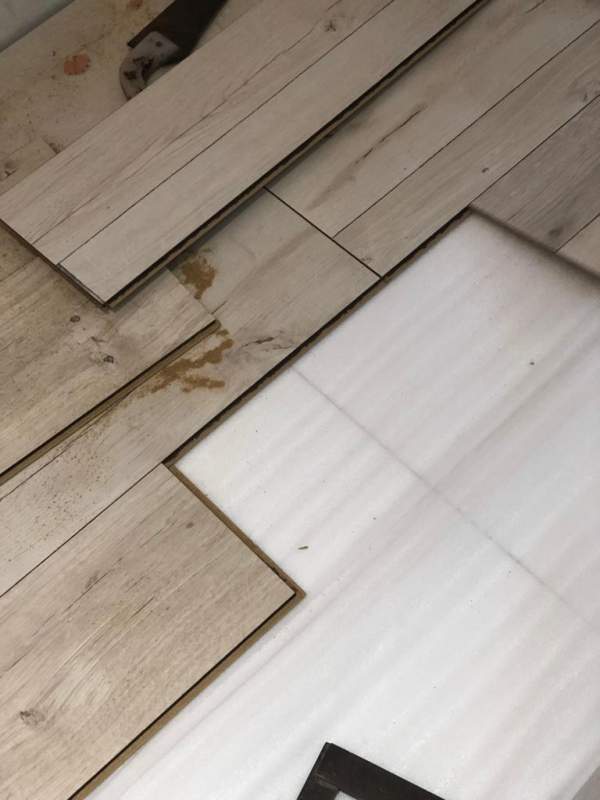 9) If it does not fit properly, you will need to cut the final board so that it is narrow enough to fit. 10) Since you will not have enough space to tap them with the mallet, use a crowbar instead to wedge them into place. You are now ready to finish your floor. 11) Once the floor is in place, you can add some type of baseboard trim, usually a type of molding, where the floor meets the wall. 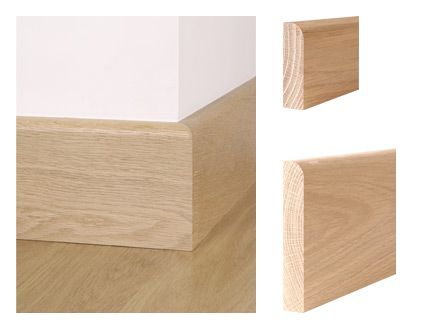 12) Add trim and transitions anywhere where your floor does not meet up with your walls, such as doorways or a section of the room with different floor covering. Trim and transitions should be cut to size and installed according to the manufacturer’s instructions. This is usually a very simple process. 13) If you wish to, you can cover the holes created by the nails with nail putty. Such holes can collect dirt and other undesirable material. Be sure to get putty in the color of the wood you are using for the floors, as this will help it blend in.
Like it? Share it! More by this author |